User Management Module
- Navigate to portal.odeko.com and login
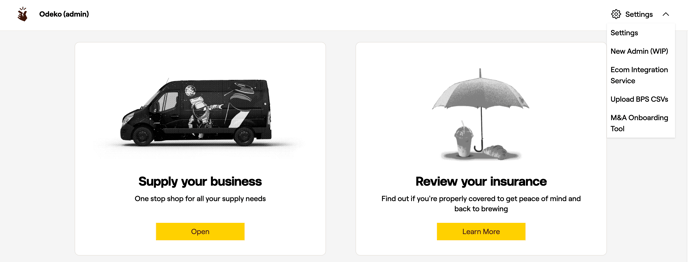
- Click on 'Settings' in the top right corner.
- Click on the first option that reads 'Settings' in the drop down menu.
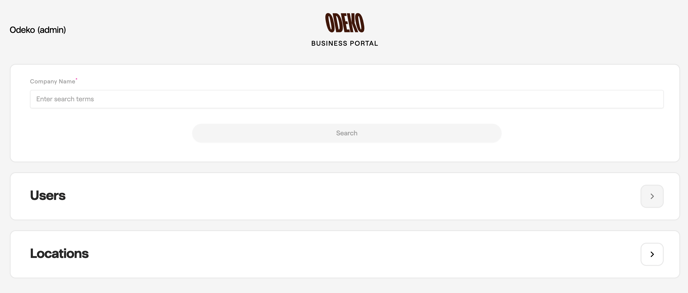
- Then, click on the arrow to the right side of the "Users" bar.
Adding New User
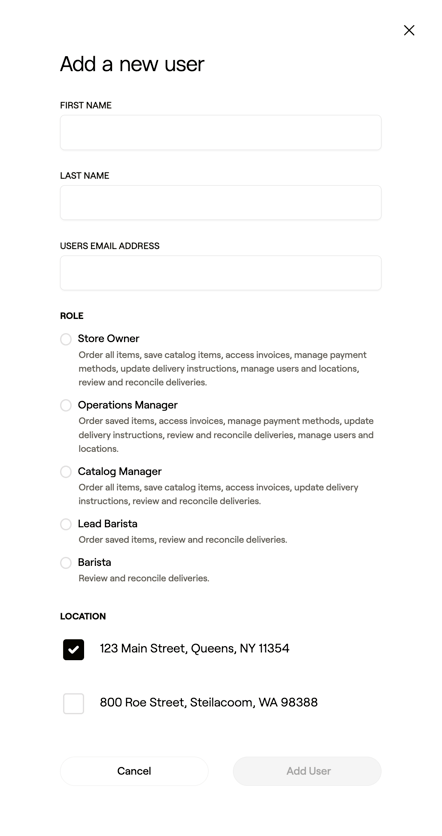
- To add a new user, hit the black Add New icon in the top-right of the Users box.

- This will trigger a pop-up menu, prompting you to enter your new user's first and last name, and email address, as well as a role (for more details on these roles and what they mean for your user, see our article on permission levels) You can now also assign a new user to a location during the creation of their account by selecting from the dropdown checkboxes that will appear below the "Role" section, pictured below.
- Hit the Add User at the bottom, and your new employee will receive an automated email to create a password.
Editing Users
- In the event you would ever like to change a user's role, email address, or name, we do offer an Edit User function, just to the right of the aforementioned Edit Locations icon in your Users submenu.
- Click the Edit User icon to be provided with a popup menu that mirrors the User Creation options mentioned earlier in this article, differentiated by the existing employee information populating the fields.
- Make any necessary adjustments, and press Edit User at the bottom to save your changes.
Removing Users
- Should you need to remove an employee from your Odeko account for any reason, you are able to do so from the same Users submenu.
- When viewing your list of users on the account, you will see a small gray subtraction icon on the far-left of every user. Click this icon to remove a user from your Odeko account.
- You will be prompted to confirm this action with a browser pop-up notification - click either OK or Cancel to make the final decision

NOTE: Removal is irreversible; once a user is removed, the only way to reinstate is to build a new user profile entirely.